Setting Up a Map
Preparation · Setting Up a Map
Do this before a session so you're not fumbling with grid calibration while people are waiting.
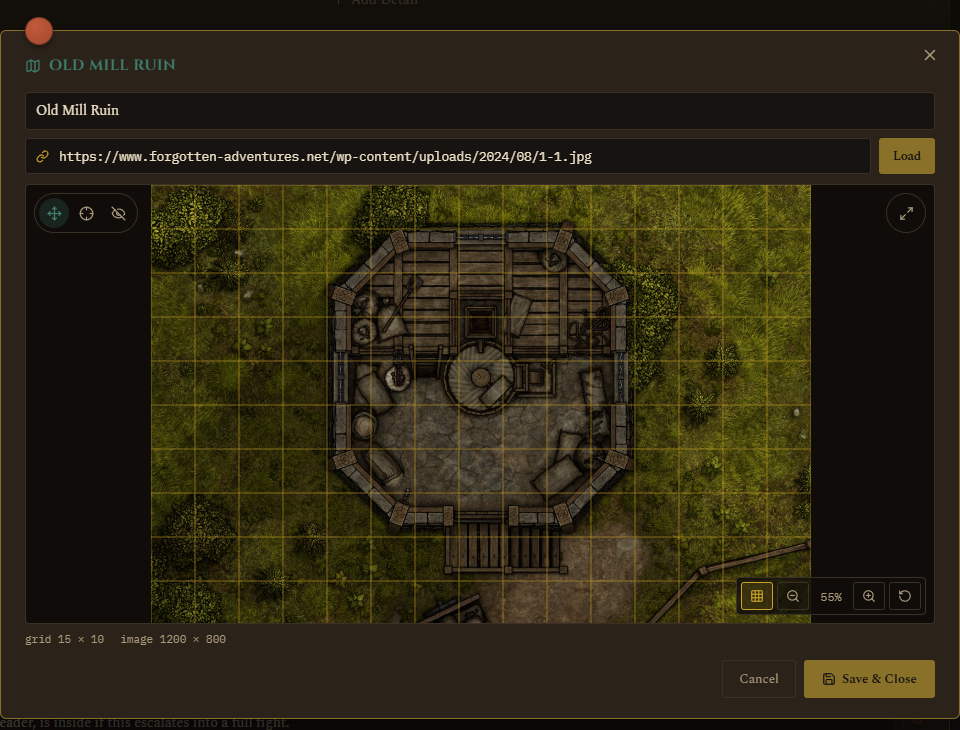
- On a location's Campaign Prep page, add a map by pasting an image URL and clicking Load.
- This opens the map popup with three modes: Pan & View, Calibrate Grid, and Fog of War.
- In Calibrate mode, drag the two handles onto adjacent grid intersections on the image. The app uses that spacing to work out real distances later (for the ruler tool, spell radius labels, and so on). You can also select a handle and nudge it with arrow keys for precision.
- In Fog of War mode, click or drag to mark which cells are hidden by default when a session starts. This sets the baseline, not what's revealed live during play, that gets edited separately once a run is underway.
- Click Save & Close when you're done.
If you want to place tokens ahead of time (an ambush, a set encounter), open the encounter from Campaign Prep and use its Map Setup section. It uses the same placement grid as the live battle map, so tokens you place here are exactly where they'll be when you hit Start, see Running a Live Session.